
1.2.3. Sending SMS Text Messages with SMS Sender
To send SMS messages using SMS Sender, follow the steps below:
1. Download SMS Sender from Microsoft's web site (http://www.microsoft.com/globaldev/outreach/dnloads/smsSender.mspx) and install it.
2. Run SMS Sender and you should see something like this:
Figure 1. The screenshot of MS SMS Sender in Windows XP.
|
|
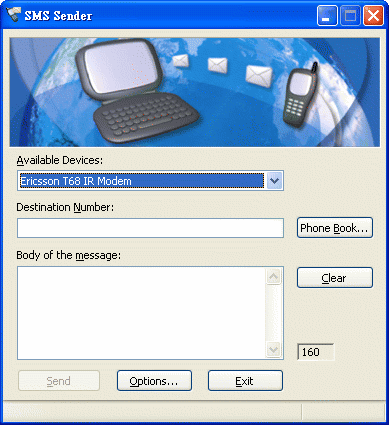
3. In the Available Devices combo box, select the modem that we installed earlier.
4. In the Destination Number text box, enter the recipient's mobile number. To send international SMS messages, include the country code before the recipient's mobile number. For example, the country code of the United States is 1. To send an SMS text messages to the mobile number 6123456789 in the United States, enter +16123456789 in the text box, or simply 16123456789. SMS Sender supports other mobile number formats. Please refer to SMS Sender's readme file if you are interested in the details.
5. In the Body of the message text box, type the text message you want to send to the recipient.
6. Click the Send button to send the SMS text message out.
1.2.4. Sending SMS Text Messages in Other Languages
SMS Sender supports the sending of Unicode SMS messages. This means you can send SMS text messages written in languages other than English, such as Arabic, Chinese, Japanese and Korean. To send Unicode SMS messages, click the Options button in SMS Sender's main window and select the International characters (UCS-2) item. If you select the Autodetect the encoding check box, SMS Sender will detect what you type and choose the appropriate character encoding automatically.
Figure 2. The screenshot of MS SMS Sender's Options dialog box in Windows XP.
|
|
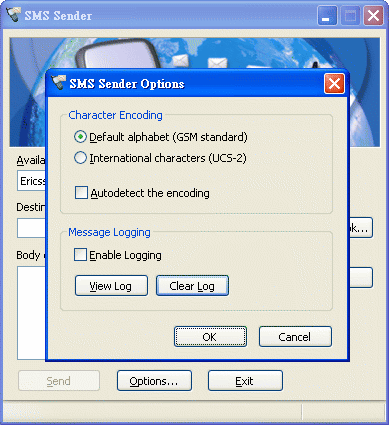
Note that using the UCS-2 Unicode encoding reduces the maximum number of characters that can be included in an SMS text message. An SMS text message encoded in Unicode can contain at most 70 characters, while an SMS text message encoded in GSM default alphabet can contain at most 160 characters.
1.2.5. Logging SMS Text Messages Sent
SMS Sender can log the SMS text messages sent. This allows you to look back at the SMS messages sent earlier. To enable logging, click the Options button in SMS Sender's main window. Then in the Options window, select the Enable Logging check box. To view the log file, click the View Log button in the Options window. In the log file, you can find the information below:
Time and date that an SMS text message was sent
Destination mobile number
Body of the SMS text message
1.2.6. Importing Phone Book Entries
It is possible to import phone book entries from a mobile phone into SMS Sender. To do so, click the Phone Book button in SMS Sender's main window. In the SMS Sender Phone Book window that appears, click the Import button.
Figure 3. The screenshot of MS SMS Sender's Phone Book dialog box in Windows XP.
|
|
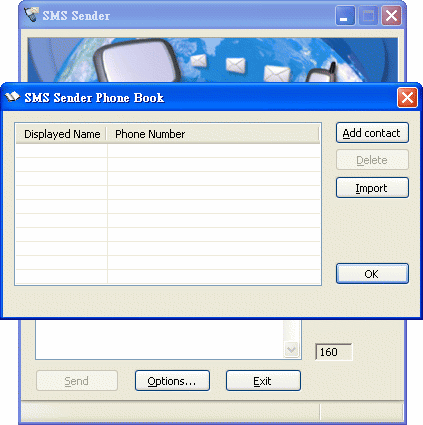
Figure 4. The Contact Information dialog box appears if you click the Add contact button.
|
|
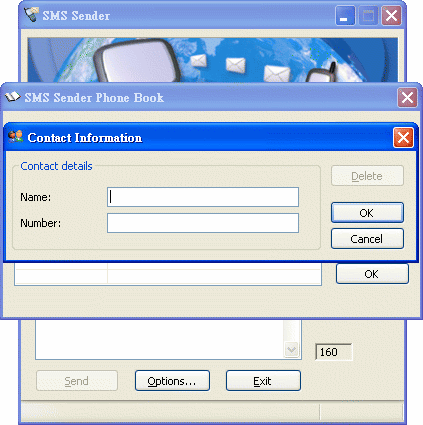
SMS Sender allows you to add, delete or make changes to phone book entries. However, SMS Sender cannot export phone book entries to the mobile phone. This means the changes you made to the imported phone book cannot be reflected on the mobile phone. So, it is better to make changes to the phone book directly on your mobile phone, and from time to time, clear the phone book in SMS Sender and re-import the phone book from the mobile phone.
| Previous Page | Page 2 of 2 |
- 1. How to Use a Windows PC to Send and Receive SMS Messages (Non-Developer's Perspective)
- 1.1. Requirements
- 1.2. Using Microsoft SMS Sender to Send SMS Messages from a Windows PC